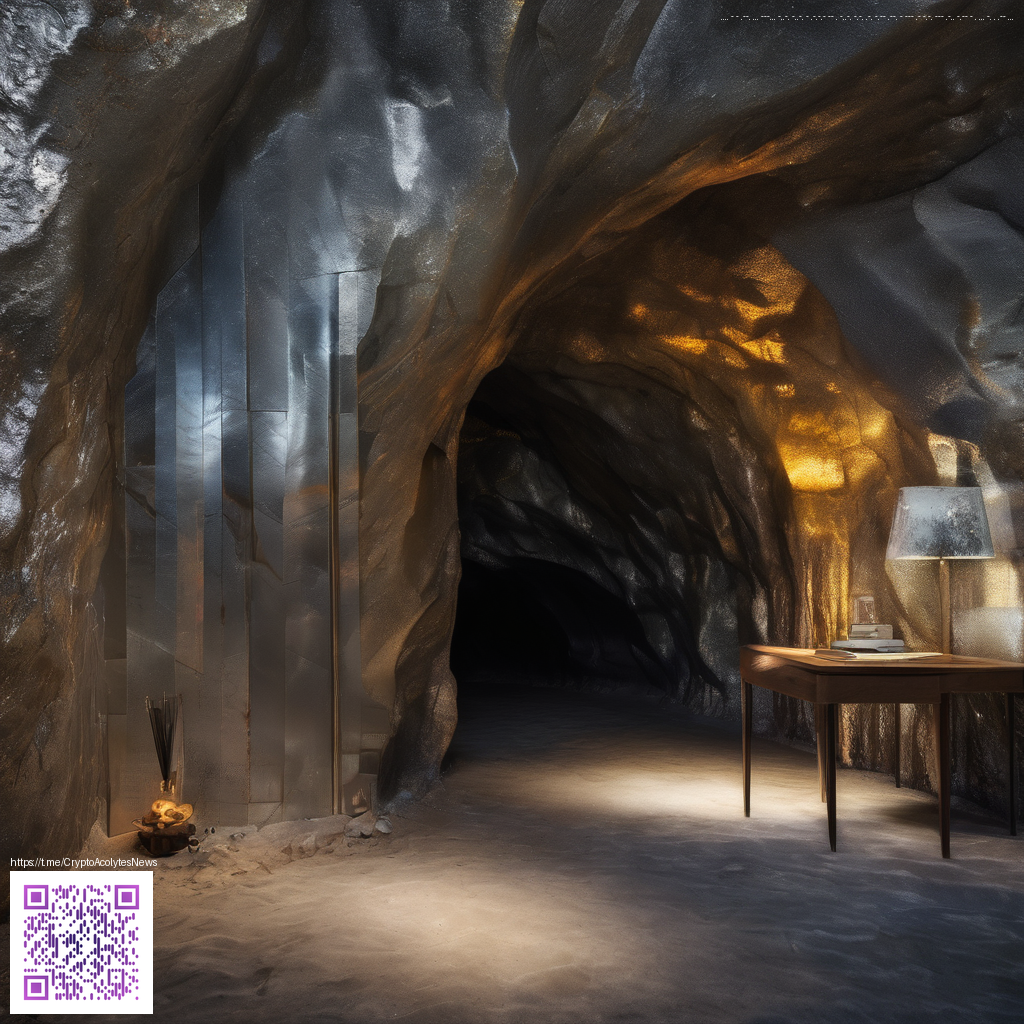
In the evolving world of printable wall art, digital paper isn’t just a backdrop—it’s a flexible toolkit. Designers curate digital paper packs to supply cohesive textures, patterns, and color fields that print crisply at home or through a professional service. The advantage is clear: you can experiment with mood and scale without wasting physical materials, and you retain the freedom to rework compositions until they feel right for your wall space.
Understanding Digital Paper and How It Powers Printable Art
Digital paper serves as the foundational language of a piece. Patterns range from subtle linen textures to bold geometric repeats, and textures can be layered to create depth without adding bulk to the final print. This makes it easier to iterate on a concept—changing color balances, adjusting contrast, or swapping textures—before committing to the final frame. For many creators, digital paper is the bridge between a concept in a moodboard and a finished, print-ready wall print.
For readers who enjoy blending digital aesthetics with practical items, a tangible example of thoughtful design is the Phone Case with Card Holder MagSafe Polycarbonate. This product demonstrates how well-made, functional design can align with the same design sensibilities that guide digital paper selections—attention to texture, detail, and usability that travels across mediums.
Practical Tips for Selecting and Using Digital Paper
- Resolution matters: choose digital papers with high resolution (at least 300 DPI) for standard prints and higher for larger formats to maintain crisp edges.
- Texture and depth: look for papers that offer nuanced textures—grain, watercolor washes, or subtle fabric-like weaves—to give prints dimensionality without overpowering the subject.
- Color management: calibrate monitors and select printing services with color profiles that align to your preview for accurate results.
- Pattern strategy: seamless textures work beautifully for panoramas and large canvases, while tiled patterns can create a cohesive narrative across multiple prints.
Digital paper is a storyteller’s toolkit, letting you craft walls that feel purposeful even when the designs are composed of simple shapes or bold blocks of color.
The Process: From File to Frame
Start with a concept, then assemble digital papers that echo that mood. Create mockups to approximate how the piece will look on your wall, checking alignment, margins, and framing options. If you’re curating a gallery wall, map out a layout that balances texture and color across several prints. Lighting matters too—warm tones can accentuate earthier textures, while cooler lighting can highlight metallic or iridescent finishes in your digital papers.
As you explore, keep an eye on how digital tools translate to physical results. A quick, practical step is to test print a small section to verify how texture and color render before committing to a full-size print. If you’re curious about more resources or related ideas, you can view additional context here: Page Overview.