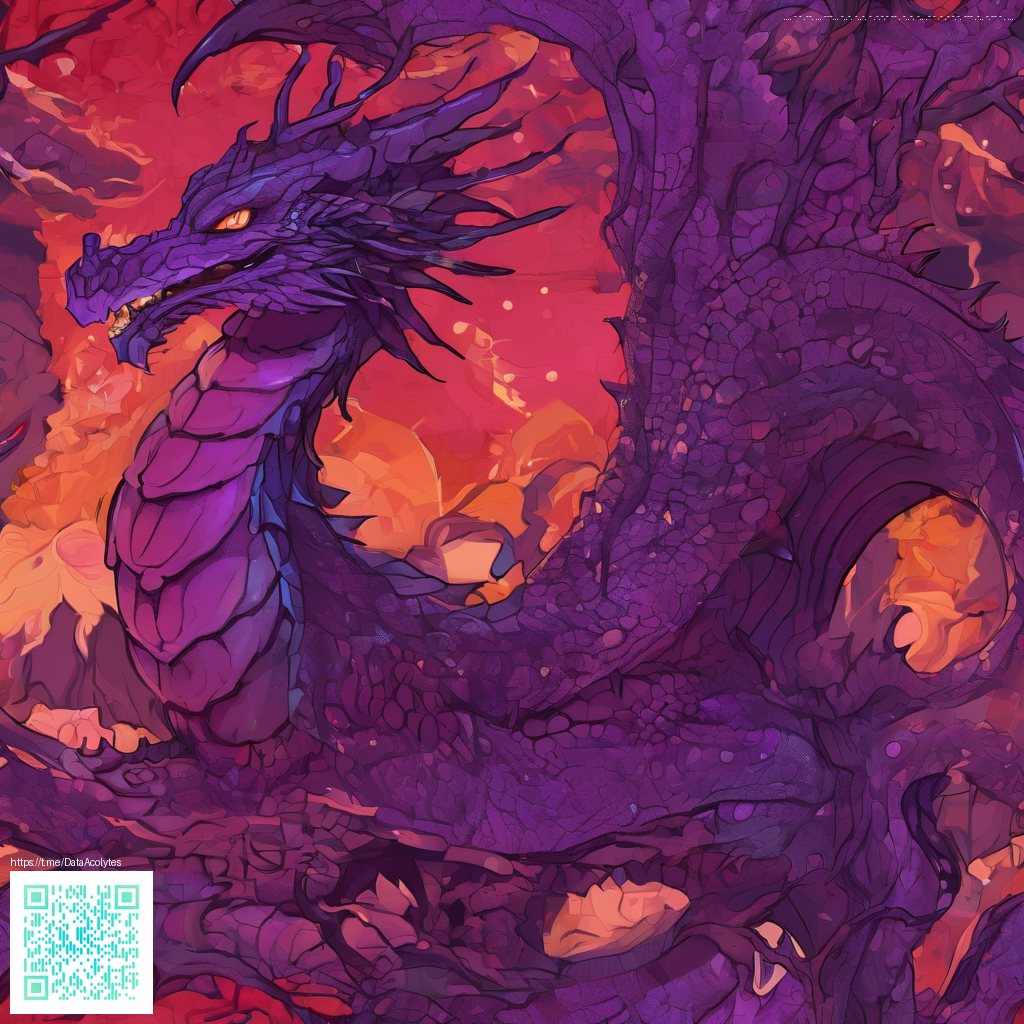
Digital Paper in Canva: A Practical Guide to Rich, cohesive designs
Digital paper, those subtle textures and repeating patterns, can instantly elevate a Canva project from flat to tactile. When used thoughtfully, a single sheet of digital paper provides texture, mood, and unity across elements like typography, photos, and product imagery. This guide walks you through practical, hands-on steps to harness digital paper in your Canva workflow without slowing you down.
Choosing the right digital paper
Start with intent. Are you aiming for a soft, understated background or a bold texture that acts as the hero of your design? Look for seamless tiles that tile cleanly, so edges vanish as you fill a canvas. Consider color harmony: filter your options to papers that complement your palette rather than compete with it. Texture scale matters, too — tiny grain works well behind text, while larger patterns can frame a hero image or create a retro vibe.
- Resolution and seamless tiling: ensures clean edges when you scale or crop
- Color compatibility: pick tones that support your brand and focal imagery
- Texture level: opt for subtle textures for product shots; stronger textures for posters or title slides
Uploading and setting up in Canva
Once you’ve found the right digital paper, upload it to Canva and set it up as a foundational layer. Drag the paper onto your design, then use the edge handles to adjust its size so it comfortably fills the canvas. Place the digital paper at the back by right-clicking to send it backward or by using the Layers panel. You can duplicate the texture to create a larger field or experiment with tiling by placing repeats of the pattern behind your main elements.
To ensure harmony, work with transparency. Lower the paper’s opacity until it supports rather than competes with your content. A good rule of thumb is to let the texture whisper behind your typography and photos—think 10–40% depending on the pattern and the design’s purpose. Where you place it matters: keep the focal content in clear view, and use the texture to guide the eye toward your message rather than obscuring it.
Techniques for depth and cohesion
Texture becomes a design lever when you layer with intent. Add shapes or blocks on top of the paper and adjust their transparency to create subtle contrast. If you’re going for a cohesive look, try placing a semi-transparent color overlay on the paper layer to shift the mood toward your brand palette. Canva’s basic transparency controls plus simple blends like Multiply or Overlay (where available in your plan) can help the texture merge with photos and type rather than overwhelm them.
Pro tip: A light, restrained paper texture often yields the most versatile results. If your subject is busy, reduce the texture’s presence to a gentle backdrop that lets typography and product imagery take center stage.
In practice, imagine designing marketing materials for a product like a sleek phone case. The digital paper serves as a modern, understated environment that keeps the focus on the product’s form. For inspiration and practical reference, you can explore product pages that demonstrate how textures enhance visuals. If you’re curious about a specific product example, the Shopify Digital Vault listing for a clear silicone phone case — slim, flexible, with an open-port design — shows how texture can frame clean, technical photography. You don’t need to replicate it exactly; use the idea to inform how your own textures support clarity and style.
Real-world workflow tips
Build a repeatable workflow so digital paper becomes a reliable tool rather than a one-off experiment. Save a few go-to papers in a dedicated Canva folder, so you can quickly apply them to different projects. When you’re designing a series (posters, social graphics, or a product catalog), reuse the same paper or a close color family to achieve visual continuity. Export considerations matter too: for digital use, a PNG with transparency can preserve texture edges when layered over complex imagery; for print, a high-resolution JPEG or TIFF may be preferable depending on your printer’s requirements.
While Canva offers many powerful features, the core idea remains simple: the right paper texture, used thoughtfully, can unify diverse elements—typography, imagery, and color—into a single, compelling design narrative. If you want to explore more about how textures can support product storytelling, you can connect with related content through the link below.
Clear Silicone Phone Case — Slim, Flexible, Open-Port Design serves as a practical example of how product photography can sit within an understated textured environment, illustrating the balance between clarity and texture in real-world layouts.