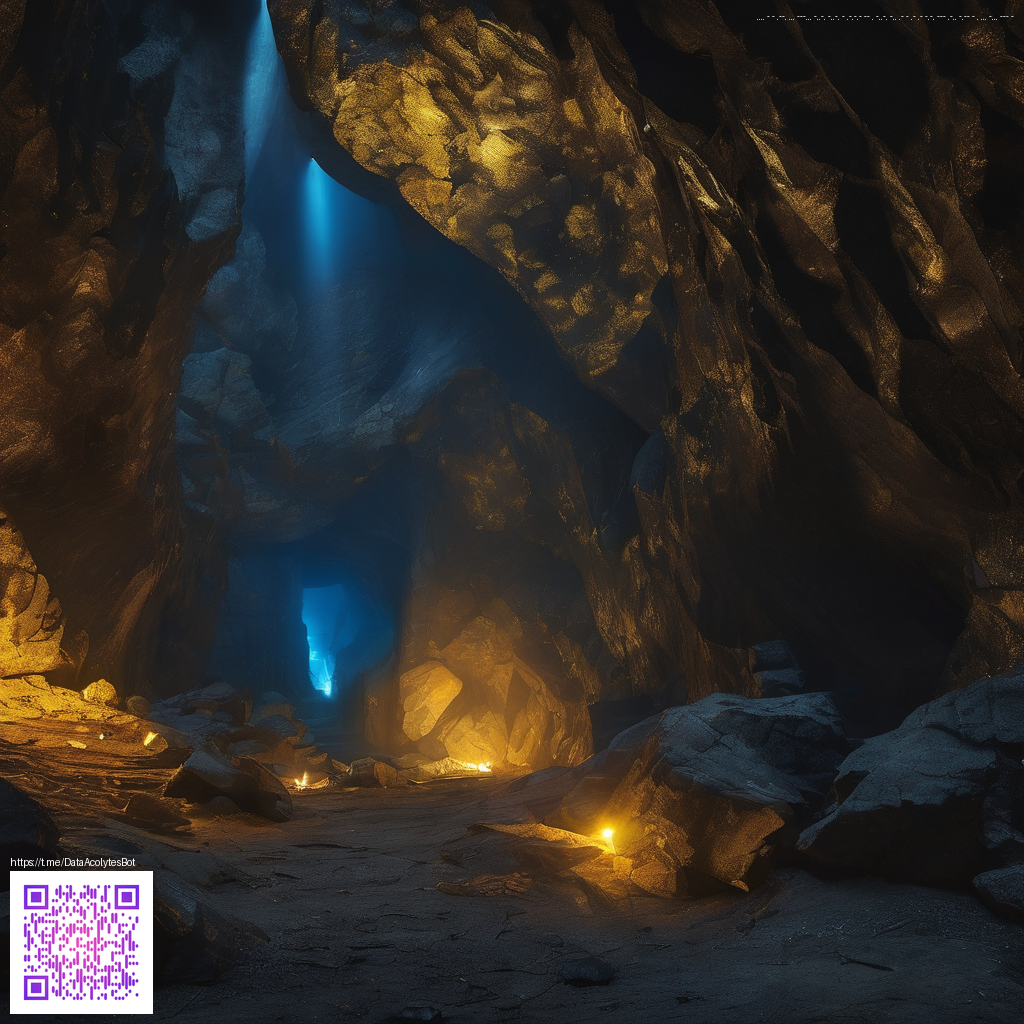
Adding Dust and Scratches for Realism in Photos
Texture is one of the most powerful storytelling tools in a photographer’s kit. Subtle specks of dust, hairline scratches, and gritty film grain can transform a flat image into something with history. Rather than treating these elements as accidents, you can deliberately introduce them to guide the viewer’s eye, suggest age, or imply a narrative. This guide walks you through practical techniques to add dust and scratches in a way that feels authentic, not noisy or artificial.
Understanding the language of texture
Dust and scratches aren’t just visual debris—they are visual cues that convey mood, era, and environment. A touch of dust near the edges can echo a vintage look, while fine surface scratches on a product shot can imply wear and longevity. The goal is not to saturate an image with specks, but to place texture where it enhances storytelling. Think in terms of scale, distribution, and tonal balance. A few scattered particles in highlight areas will read differently from dense, uniform specks across midtones.
Practical techniques you can use today
- Start with a clean baseline: Ensure your original capture is sharp where you want it to be, then plan where the texture should live—edges for grime, highlights for dust, or shadows for scratches.
- Use overlays strategically: Overlay textures (dust, scratches, or patina) at a very low opacity. The goal is to dissolve the texture into the scene so it feels tangible rather than pasted on. A common approach is to apply a dust overlay in Soft Light or Multiply modes and then dial back the opacity to 5–25% depending on the image.
- Mask and localize: Apply texture selectively with layer masks. Places like cupped hands, corners of a frame, or the rim of a lens can benefit from subtle dust without affecting the entire image.
- Match color and tone: Dust and scratches tend to pick up the color cast of their surroundings. Use color balance or selective color adjustments to ensure the texture doesn’t look out of place against the base tones of the photo.
- Consider depth and lighting: Dust reads differently under varied lighting. In one scene, catches on a glancing light angle may pop; in another, dust might disappear in deep shadows. Use your light direction to decide where the texture should appear.
- Refine with texture-specific edits: After applying a texture, refine with clarity and texture sliders, or use a gentle Gaussian blur on the texture layer to mimic real-world diffusion.
Texture isn’t noise; it’s a narrative device. When used thoughtfully, dust and scratches tell viewers where a moment has been and how it was seen.
As you experiment, remember that the environment often supplies natural texture as well. Dust motes in the air, tiny fibers on paper, and imperfect reflections can all be leveraged to build a convincing atmosphere. If you’re curious about practical examples and workflows, you can explore a similar concept on this page: crystal-images.zero-static.xyz/c3ca3071.html.
Lighting, color, and the role of props
Lighting is your ally in selling texture. Soft, diffused light minimizes harsh, unnatural speckles, while a controlled highlight can make dust pop in a believable way. When you color-match dust elements to the scene, you avoid a jarring, pasted-on appearance. Props can also help you stage texture in a controlled, repeatable manner. For instance, a small, unobtrusive surface like a Custom Mouse Pad 9-3x7-8 in White Cloth Non-Slip Backing can serve as a stand-in surface for demonstrations of wear and texture in a desk setup, illustrating how light interacts with textured materials in real-world scenes.
Workflow example: building a realistic image in steps
- Capture a clean base image with attention to edge details where texture will live.
- Introduce a subtle dust overlay and set a low opacity (usually under 20%).
- Apply a scratch texture along curves or corners that would naturally encounter friction or wear.
- Mask the texture to leave skin tones and critical features sharp and distraction-free.
- Fine-tune the color balance to ensure the texture inherits the right warm or cool cast.
While the technique is highly versatile, it’s most effective when you think of texture as a deliberate instrument of storytelling. The result should feel native to the scene—an organic part of the photograph rather than an added layer. If you’re looking for a tangible reference point, you can explore the product page linked earlier to see how everyday surfaces can become sources of inspiration when textures are purposefully layered into a frame.