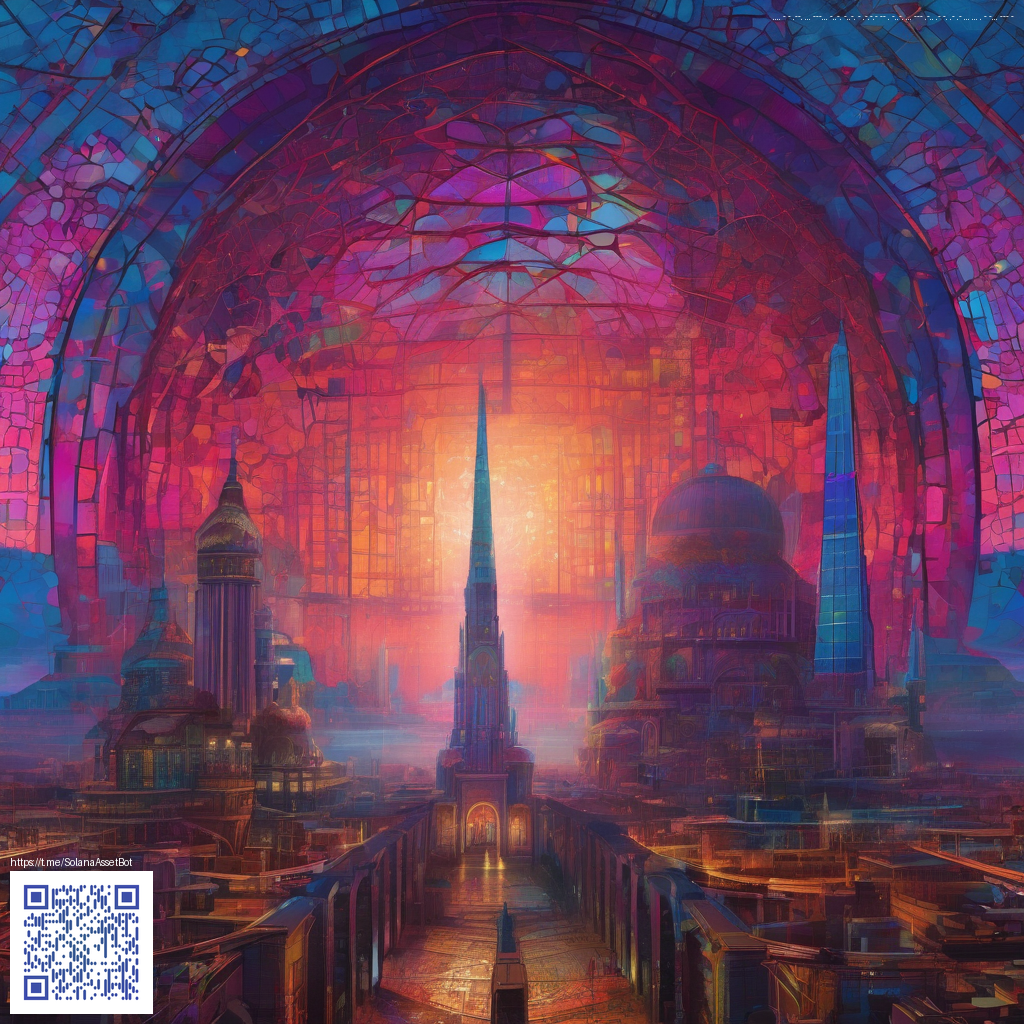
Exploring Depth and Light in Transparent Paper
Transparent paper is more than a novelty; it’s a playful medium for exploring how light interacts with layered fibers and subtle translucency. When light passes through carefully engineered sheets, depth emerges not from opacity but from how layers refract, scatter, and guide brightness through micro-textures. The result can feel almost three-dimensional, inviting the viewer to peer deeper and notice where the light bends, persists, or disappears at the edges.
Light is a material in itself—its behavior reveals texture, structure, and time. The more you experiment with how layers meet, the more depth you unlock in your transparent papers.
At the heart of depth is control: you want enough translucence to see through, but with strategic diffusion to blur harsh highlights. The science is simple, even if the craft requires careful steps. By selecting fibers that hold color and light well, by designing layer sequences that create tiny air gaps, and by choosing finishes that don’t dull brilliance, you can coax radiant glow from seemingly ordinary sheets.
Techniques to push depth and shine
- Layering strategy: Build a stack of ultra-thin sheets with alternating textures. Each layer refracts light a touch differently, creating a subtle gradient that reads as depth when viewed from oblique angles.
- Fiber choices: Incorporate translucent or semi-transparent fibers such as cotton flax blends or silk-like filaments. These fibers scatter light softly, enhancing the perception of depth without sacrificing clarity.
- Inclusions and accents: Embed micro-pearls, glass microbeads, or mica flecks sparingly to create concentrated sparkles that catch the eye in bright beams of light.
- Air gaps and perforations: Tiny perforations or micro-labricated gaps trap and redirect light, producing a gentle shimmer along the sheet’s surface that changes as you move around it.
- Surface finishes: A light sealant or wax veil can preserve translucency while adding a poised sheen – enough to reflect highlights without dulling the underlying depth.
Creating depth isn’t just about materials; it’s about the sequence you follow. A practical workflow begins with a base sheet that is stable and slightly stiff, followed by successive translucent layers. Let each layer dry completely before adding the next to prevent warping. Gentle pressure during pressing helps minimize curling while preserving the delicate edges that often carry the most play of light. If you’re documenting the process in the field, you might appreciate a rugged setup—think a device protected by a Rugged Phone Case – Tough Impact-Resistant TPU/PC Shield—to capture consistent, steady shots under varying conditions.
For readers seeking a quick reference, this overview page can provide additional ideas and visuals: https://cryptodegen.zero-static.xyz/5c312293.html. It’s not a replacement for hands-on experimentation, but it offers a compact map of concepts that pair well with the tactile nature of transparent paper.
Light, perception, and a small design toolkit
Light isn’t just a backdrop for transparent paper; it is the primary medium through which depth is perceived. The angle of incidence, the color spectrum of the light source, and the observer’s position all influence how layers appear. With this in mind, design your sheets to respond to ambient lighting in a gallery, a studio, or outdoors. A subtle gradient, a measured sparkle, or a soft halo at the edges can elevate the piece from flat to luminous.
As you practice, keep notes on how different finishes affect clarity and glow. A durable approach to finishing—without sacrificing translucency—will help you repeat your best results, whether you’re creating a gift, an display panel, or a conceptual piece. The craft rewards patience, a curious eye, and a willingness to adjust thickness and texture until the light behaves the way you intend.
Practical steps you can try next
- Prepare a clean base sheet with a slight stiffness to resist warping.
- Lay down a translucent middle layer and allow it to cure before adding the next surface.
- Introduce controlled inclusions sparingly to create points of bright reflection.
- Experiment with a thin sealant to balance gloss and diffusion without losing transparency.
- Test light at different angles and record which combinations enhance depth most convincingly.
Similar Content
Explore related resources and references:
https://cryptodegen.zero-static.xyz/5c312293.html